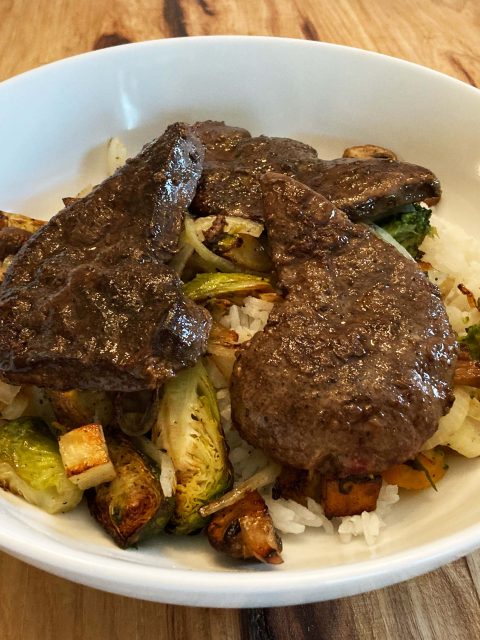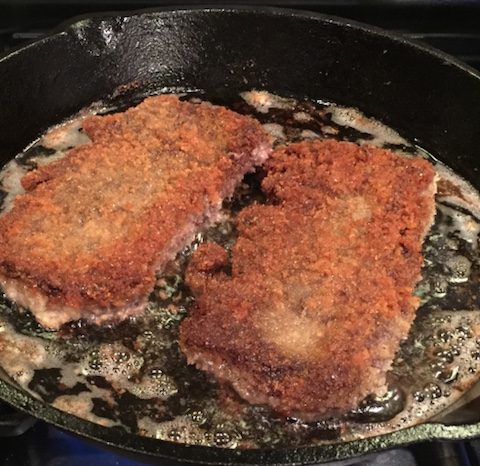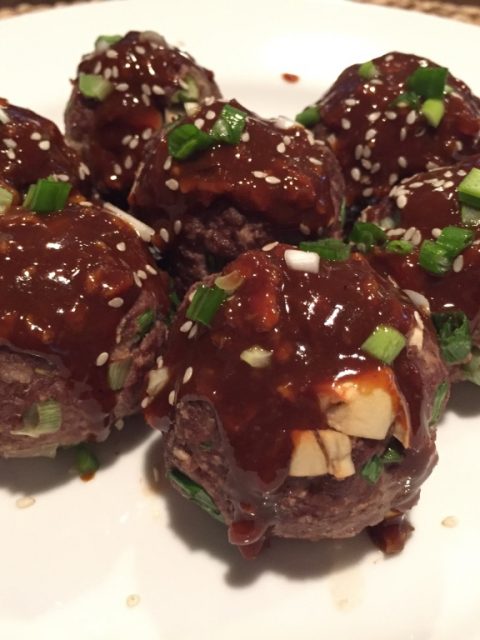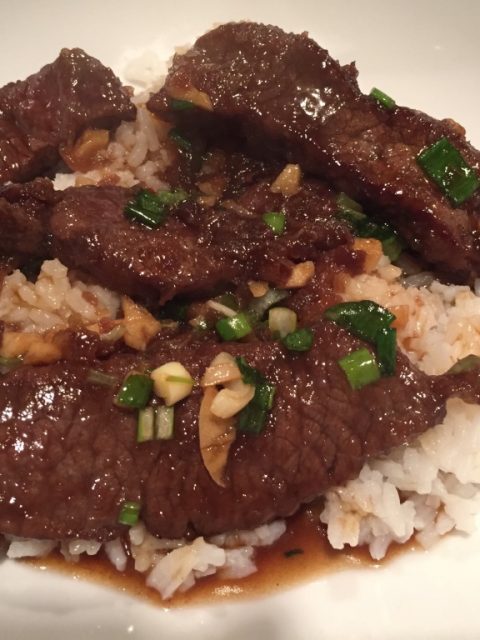
If you know about the origins of Venison Thursday, this particular meal is not one you want to start with. UNLESS.. (there’s always a caveat to most things in life now, isn’t there?) Unless your meal guests like liver.
I believe in harvesting as much from my deer as humanly possible. While there are a few parts I haven’t quite worked up to (kidneys, testicles – hey, people eat them in other animals..), liver and heart are some mainstays that you are really missing out on if you haven’t tried them.
I like venison liver over beef liver. So, as I mentioned, if your dinner guest likes beef liver, this meal should be a slam dunk. I think part of it for me is the size. Because it’s naturally much smaller than beef liver, while you still get a nice livery flavor, I think it has better texture. Or it could be all in my head. Either way, here’s how to prepare it.
In the field:
When harvesting the liver from the gut pile, clean it up as best you can. Cut off any arteries and such connected to it, wipe it down if you have something to wipe it down with, and get it in a plastic bag to keep it clean. ALWAYS keep a few gallon size zip lock bags in your field dressing kit for just such an occasion. The end result should look like a nice purplely slab, with two main lobes, and usually a little smaller flap where the lobes join.
Back at camp/home:
I don’t usually have the liver as a “camp meal”, because I like to do a little prep on it. First, rinse it off with clean cold water. Then pop it back in its (rinsed out) zip lock, and fill it with clean cold water. Let it sit in there a while (hour is good), then change the water. What we are doing is getting the blood out of it. The more blood you get out, the less metallic it will taste. Once you’ve done a few short soaks like that, mix a salt water solution in the same zip lock, or a bowl. There is no magic recipe that I’ve found, just make sure there is a good salt concentration, and that all the salt is dissolved in the water. Soak it in the solution overnight. This will really draw the blood out.
The next day, rinse it in some clean cold water again. NOW we are ready to cook it, or prepare it for the freezer.
Cooking:
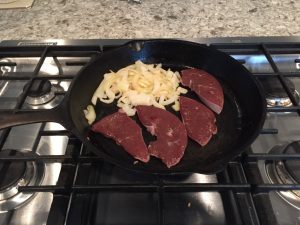
Slice the liver into strips, somewhere between a quarter inch to a half inch. You’ll get an idea of your own preference once you’ve cooked some up. At this point, I’ll package up strips into serving sized portions and freeze them, keeping out only what I need for my current meal.
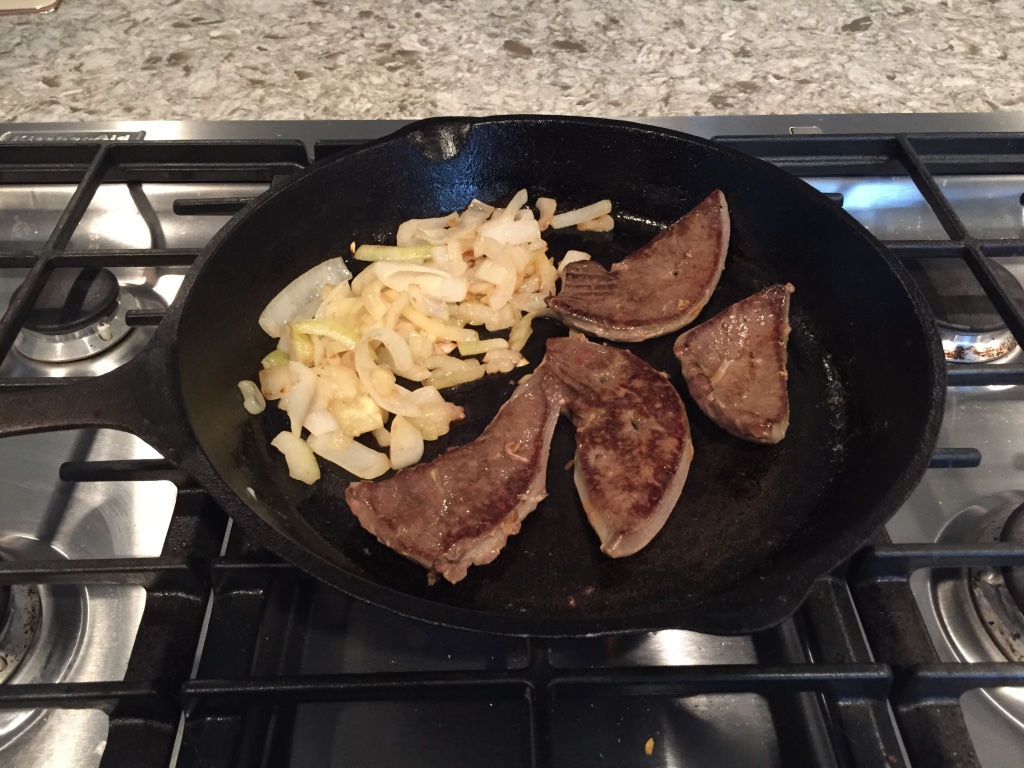
Get your cast iron skillet out, and slice up an onion. In the pictures here, I used a half of an onion and four strips – perfect lunch size portion for me.
Heat the skillet up, throw some butter in, and cook the onion till it turns translucent. Make a little room, and pop the liver slices in. They don’t need much time, a few minutes per side.
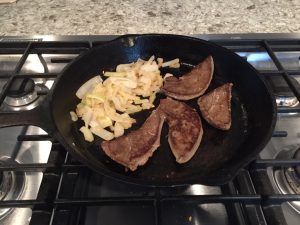 This is the hard part. I like to pull them off the heat while they are still just a little pink when you cut one – they will continue to cook once you take them off the heat. If you wait too long, they will get leathery.
They should have a nice brown sear on them otherwise. Plate everything up, and I like to let them set for just a few minutes, where they continue to cook. After a few minutes, if done right, the redness goes away, and you have perfectly cooked liver and onions.
This takes some practice (or maybe it just took ME some practice). But once you get the hang of it, you have a simple 3 ingredient meal that takes about 10 minutes to make.
