The Instant Pot was invented for cooking venison. Well, maybe that wasn’t the first thing it was intended to cook, but damn does it do a good job turning tough cuts of meat into melt in your mouth morsels.
When cooking with the Instant Pot, you can pretty much follow all the same traditional cooking recipes that you’ve honed and loved over the years. The main thing to keep in mind is that all the moisture is locked in – so if a certain recipe is meant to be thicker (like, say – a chili), you could leave a little moisture out. This isn’t necessary, and comes down to personal preference. For a stew or a soup, of course it makes no difference.
In this recipe, I followed my standard chili recipe found here.
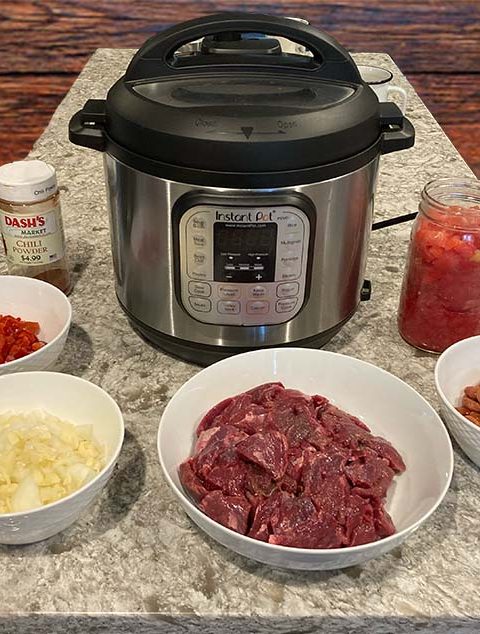
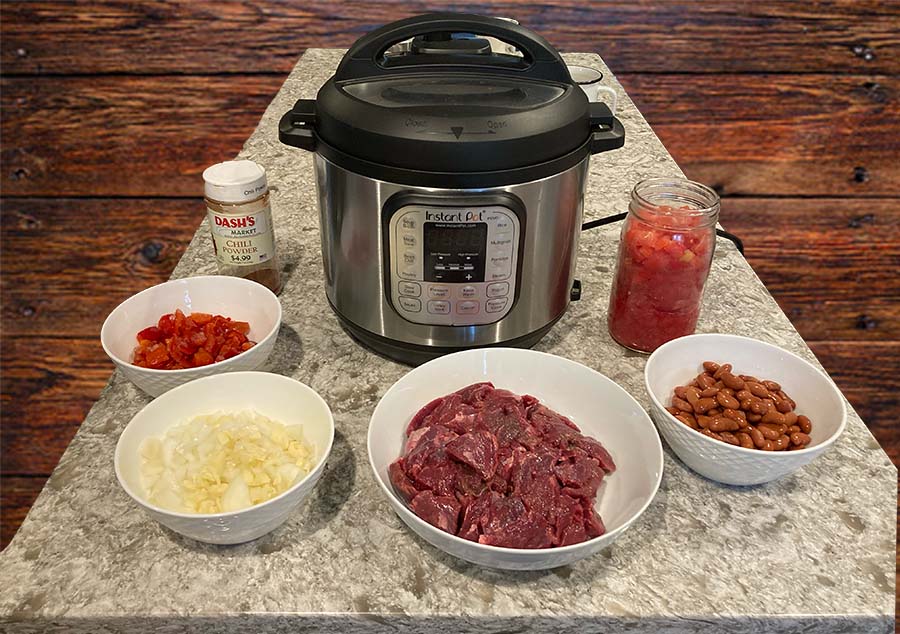
The Ingredients:
- 1½ to 2 lbs of venison cut in ¾ inch cubes (or your preference)
- 1 to 2 medium onions, diced
- 1 head of garlic, diced
- 2 cups of diced peppers
- 28 oz of diced tomatoes – fresh, frozen, or canned
- 8 oz of tomato sauce
- 2 tablespoons of chili powder
- 1 15 oz can of kidney beans, drained and rinsed
- salt and pepper to taste
- olive oil
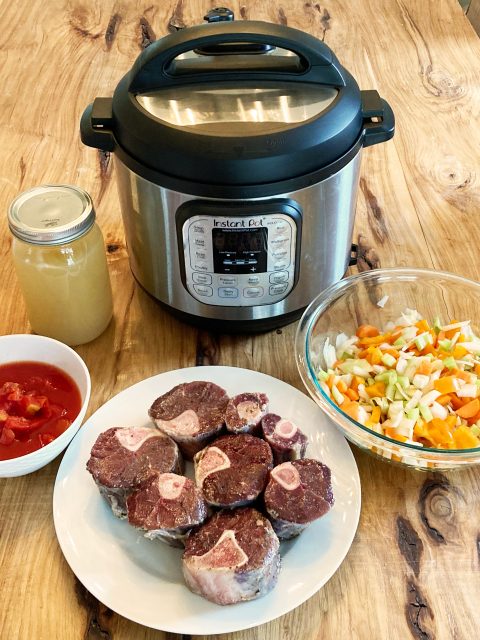
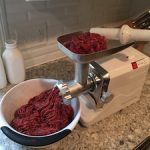
When cooking venison with an Instant Pot – or really any long braising process – don’t be afraid to use pieces that have a bit of sinew on them. You are actually better off to cook them this way than to relegate them to the grind pile. Grinding them will get out some of the sinew, but most of it will be chopped up – into little chewy burger bits. By braising them, the sinews melt down into delicious gravyness (spell check tells me that’s not a word, but maybe I can start something here). Check out the osso buco recipe as a perfect example.
Assemble the ingredients, and toss the cubed venison in a bit of olive oil, salt, and pepper to coat all sides.
Super quick version: stir all ingredients together except the diced tomatoes in the instant pot. Stir in the diced tomatoes till there is a nice consistency where everything has good moisture coverage. So it looks like a chili, and not a soup. Hold back on any remaining tomatoes if it gets too soupy.
Slightly longer version: Set the pot to “Saute” and add a little oil, and let it get good and hot. Add the venison and brown it. Then add the garlic, onion, and peppers, and cook until for a few minutes till they get translucent. Then add everything else, with the diced tomatoes LAST, following the same instructions from above so it doesn’t get too soupy.
The longer version is good, and tastes just a slightly different. Typically when you brown meat, you want a good sear, and I find that tough to accomplish in the Instant Pot, unless you are very patient and do a few pieces at a time, removing the finished pieces after each batch. If you cook all the cubed meat at once, you will wind up with too much moisture to get a sear. Browning a bit at a time turns out good, but defeats the purpose of quick and easy. If you are a chili connoisseur, you will probably opt for the long road here, but I thoroughly enjoy the quick route end result.
With either path followed, now put the cover on, and set it to the “Meat/Stew” option. You can adjust the time to fine tune it to your meat tenderness level preference, but I find an hour to be good. Depending on what version of the Instant Pot you have, this setting might just be “Pressure Cook” on the high pressure and temp settings.
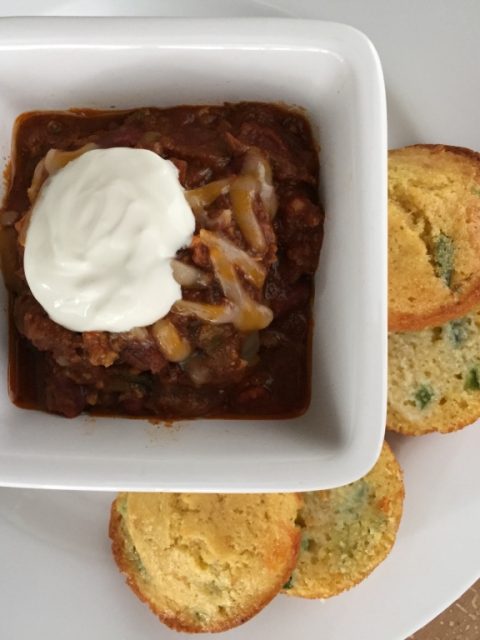
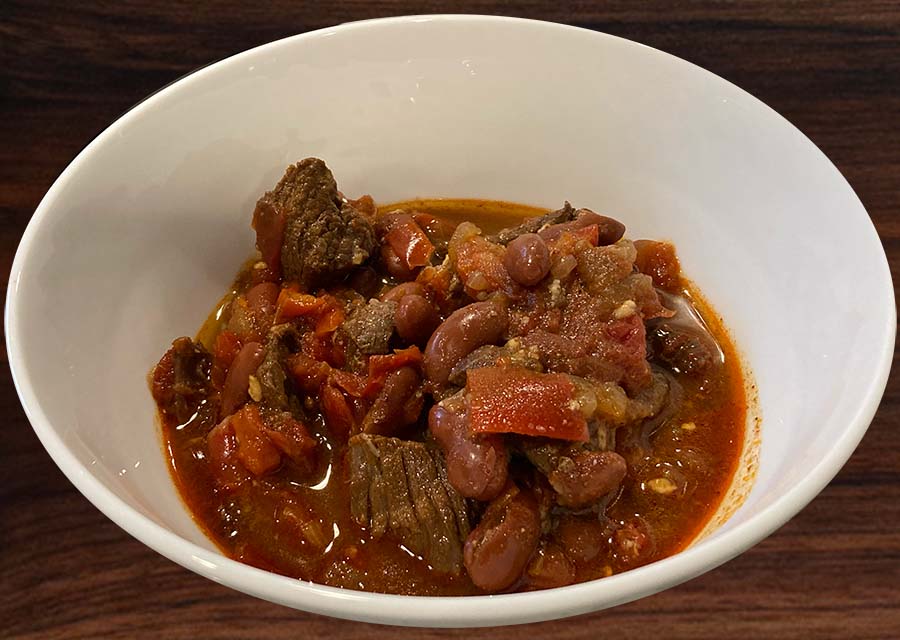
Let it do its thing. When it’s done, I like to let the Instant Pot cool naturally and release on its own. When you can open it, serve and enjoy!
Related Posts
-
 Easy Instant Pot Venison Chili
December 3, 2021
Easy Instant Pot Venison Chili
December 3, 2021
-
 Venison Shank Osso Buco
May 8, 2016
Venison Shank Osso Buco
May 8, 2016
-
Venison Chili – and don’t forget the Cornbread!
February 29, 2016
-
 A Meat Grinder For Hunters
December 17, 2015
A Meat Grinder For Hunters
December 17, 2015